And that's totally not related to the new project. The fact that it's made out of cotton yarn, which doesn't melt when used to lift hot kettles of water while you're pouring a nice cup of coffee or tea, is completely and totally a coincidence.
Nah, I'm just funning you guys. I'm totally making this "utility cloth" because I need something to help me get my coffee fix.
Why am I calling it a utility cloth and not a potholder? Because it can be used for so much more than lifting hot things. It can be a hot pad on your countertop to prevent singeing. You can use it to wash your face or dishes. You can use it to impress Sheryl who never believed you could master crochet, but screw her, you made a utility cloth.
I'm just saying. It's more than a potholder.
Anyway.
To start with, we make our slipknot (not the band) the same way we did on the scarf, and we make our chain, just like with the scarf. Make it a little shorter than you want your cloth to be long. We'll be making a perimeter with a new stitch at the end!
 |
| I took mine out to about 25 stitches because I'm weird and like multiples of 5. |
 |
| First, you want to make sure you know where your tail and the yarn attached to the ball are at all times. |
 |
| Start your stitch as normal, but keep an eye on that tail - make sure you can grab it! |
 |
| Pull the tail over like you're going to use it to complete the stitch. You won't, but you want it over your hook. |
 |
| Trap that tail with your main yarn. You're trying to use the stitches themselves to bind the tail into the project. |
 |
| Finish that stitch! |
 |
| But what do you do with the tail now? You trap it in your turning chain, then prepare to single crochet the next row. |
 |
| When you're stitching over the tail, make sure it's on top of the stitches like here. Then you're just going to continue over it for a few stitches. Leave it behind and finish the row - you'll come back to it on the next row. |
 |
| Now that you're back to it on the next row, finish incorporating the tail. Sometimes that means you have to pull it through a stitch like it's your main yarn - that's ok. |
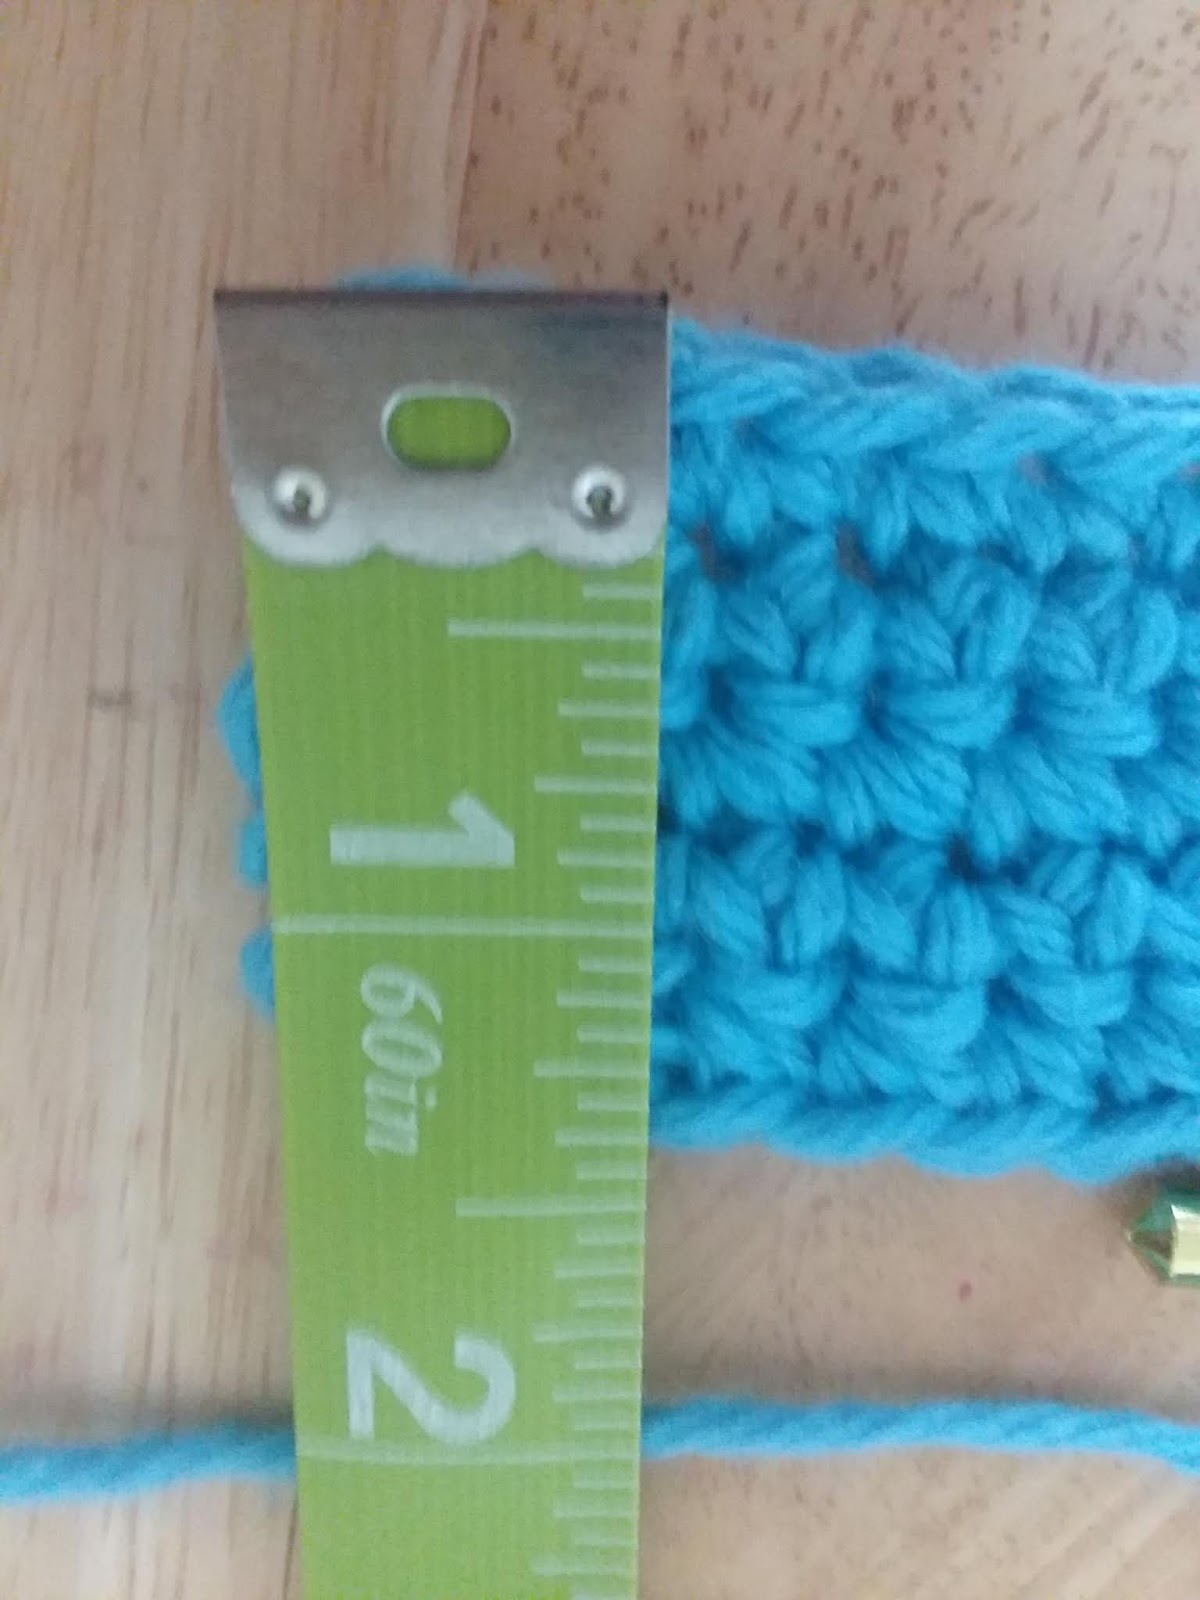
Anyway, I continued the project to five rows of 25 stitches. It's important on this project to keep track of how many rows and stitches per row you have, since we'll be using that information to keep our border nice and uniform!
 |
| 5 rows of 25 stitches |
 |
| I bought this measuring tape at a small stitchery shop. |
 |
| I'll include a link for the shop at the end! |
Alright, all, that'll do it for me today. I hope you have fun working on this new project with me, but I don't think this one'll take 9 weeks to complete :P
Go
FC
PS: If you're ever on the coast of Maine and need emergency sewing supplies or just want to browse, definitely check this shop out!
No comments:
Post a Comment
Comments are now moderated, so if your comment doesn't appear right off, it's just bc I haven't seen the email yet sorry!