 |
| Using leftover bbq boneless pork ribs to make pork floss or a reasonable facsimile thereof... |
I have been an Asian Grocer's maybe... three times? And those were all on the same day. I saw pork floss then, though I didn't manage to try it, so I actually have no idea how successful this experiment was, regarding flavor and texture comparisons, but as far as how much I liked it? Well... I may have eaten half a quart of it without thinking, so I'd say it went well.
But what is pork floss?
Simply put, it's very, very battered pork. It's pork that's so beat-up that the meat fibers have totally separated into their own crispy/fluffy protein strands, which, combined with sugar and soy sauce, become incredibly addictive. The mechanics of making pork floss (or any kind of meat floss, really, I'm sure) are very simple: Cook your meat, season it with sugar and soy sauce, pound it, then fry it, then pound it, then fry it, then pound it, then... you get the idea. It's not a very difficult recipe, just a long and tedious one. Then again, if you're really annoyed the day you make it, it's a great way to focus your aggression.
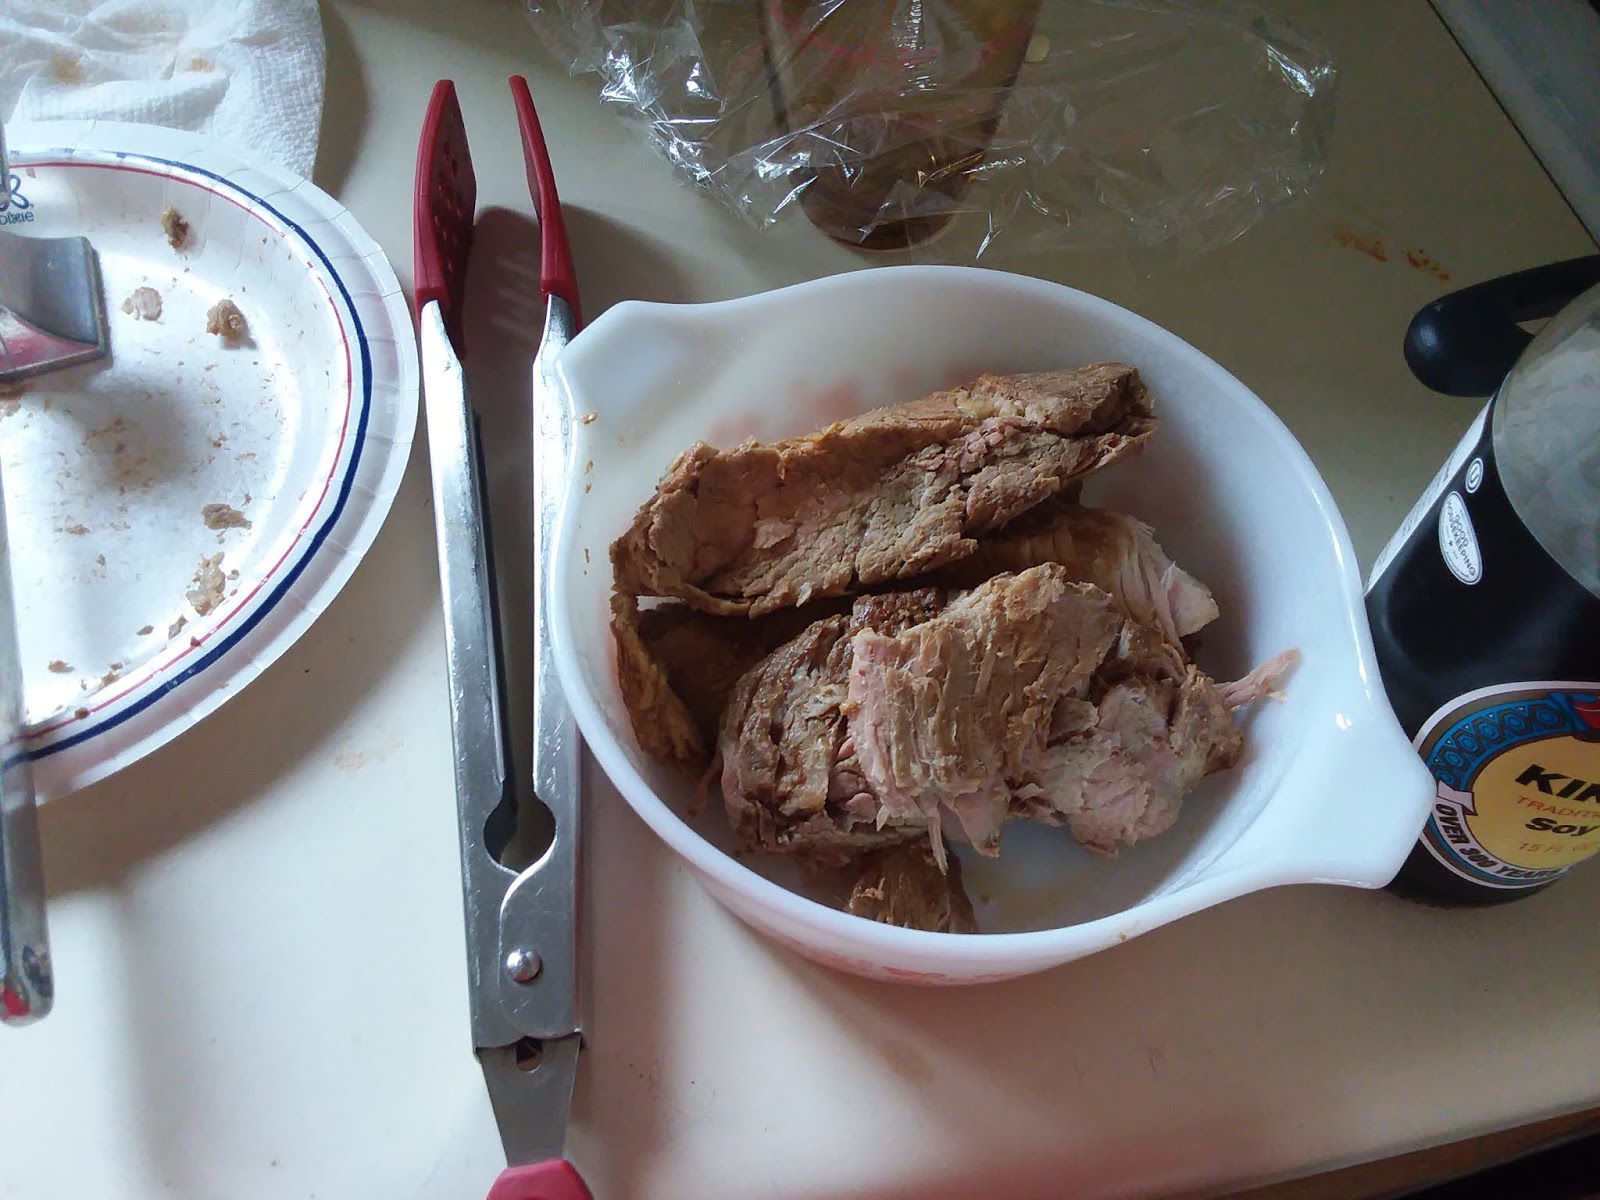 |
| First, you start with some meat. |
I used leftover boneless pork spareribs that had been cooked in the oven with bbq sauce. Since the ribs were... fairly dry, to be honest, they were my best bet. After all, I wasn't making "leftover potatoes floss" or "leftover Caesar Salad floss", so my options were, at best, limited.
I took my ribs and pounded them with a mallet slightly. I didn't discover until near the end, however, that my best bet would've been to simply leave the meat in its Pyrex dish and beat it with a very heavy glass (be careful not to chip anything!!!). If you don't have a heavy glass or a meat mallet, your next best bet is to find the heaviest cylindrical object (make sure you can hold it for several hours at a time comfortably) in your kitchen and cover the end in plastic wrap, foil, waxed paper, or parchment (held on with probably rubber bands). Basically, you don't want anything that might not be 100% food safe to come in contact with your food.
Once you've slightly deformed your meat (don't go too crazy, you'll get back to it, I promise), it's time to add your marinade. Splash some soy sauce (as much or little as you want) over the meat, then sprinkle a tablespoon of sugar over it. I would add more soy sauce and sugar as I went, just to help the pounding process out. You can just add a buttload at the start, but you might get more caramelization than you'd like.
 |
| Remember to cover your meat while you go make a cup of coffee or walk the dog. Let it sit for a while. |
With the marinade on and some time killed, it's time to prep your frying pan. I'd suggest using cast iron if you've got it, because the weight helps it retain heat longer. If you're constantly ferrying meat from pan to pounder and back, the constant heat change can damage the pan (and the constant on/off cycle can mess with your stove!).
 |
| I used a little peanut oil to help lubricate the pan, but if you've got a fatty enough cut of meat, you can probably skip this step. If it's even necessary. I've seen conflicting views on it... |
Heat your meat in the pan for a while - this was a step I just... eyeballed. I didn't know how warm to get things, but I made sure there was a little color on at least one side of the meat before I took it out and pounded it some more.
 |
| It flattened considerably while I was working! |
Then it's back to the pan. And back to the pounder. Over. And Over. And Over.
 |
| 3rd pounding. |
 |
| 5th or 6th pounding |
By the time I hit pounding number 7, I realized that a cup would work better, and that leaving the floss in the Pyrex dish was way more convenient. That's what first tries are all about, folks - learning how not to do things and what ways are better. So I beat that poor floss even more severely. Then I had to leave it in the fridge for a day, but I'd strongly suggest eating it the day you make it! Leaving it in the fridge can make it a bit tacky from the fridge moisture. Ew.
Also, it probably needed another 5 minutes in the pan to really get all the moisture out, but I ran out of time.
But what's this? A bonus recipe?!
Of course! I couldn't just leave you with roughly a quart of beaten pork ribs and no idea how to use them!
 |
| We'd also just received our Umai Crate for September, so we were super eager to try some noodz! |
I transferred my floss out of the dish and into a zippered bag, which made things much easier to transport. It also made it very easy to fluff the floss, which is a necessary step after settling has occurred.
 |
| My re-fluffed floss! |
 |
| See? Beaten eggs! |
The eggs were added to the noodles as I cooked them, and then the eggy noodles were transferred to a bowl and added the seasoning packets.
 |
| As you can see, it was an Akakara Ramen, which was creamy and spicy and delicious! |
Once everything was mixed together, I mounded up the pork floss on one side of the bowl for aesthetics (and also so that we could add as much or little to our noodz as desired).
 |
| They looked fantastic. They tasted better. |
This was, without a doubt, the warmest reception I could have hoped for. Not only was I over the moon with how this turned out, but everyone else who tried it was thrilled, too! The meal was awash with yummy sounds, so I was pretty darn proud of myself. I also kept snacking on the floss, since I couldn't fit the whole bag in the bowl...
 |
| Ah, what the heck. Have another glamour shot of the floss! |
While the floss was not crispy in the way I've heard it described, it was light, fluffy, and chewy. Since I didn't finish pounding it or frying all the moisture out, it still had a few larger clumps of meat, but for the most part, it looked like frizzy meat wool, but it tasted amazing. Sweet, faintly barbecued, faintly soy-saucey, and intensely meaty, this was a superb ramen topping, so I think that's what's happening to all of the leftover pork in my fridge from now on - it's being sacrificed to the meat floss gods.
If you've got several hours to kill and some slightly dry pork leftovers in your fridge, definitely give this a try! Heck, even if you've just got leftover pork from, say leftover Chinese food, you could probably get a little floss out of it!
Now, if you've followed this far, you probably don't need it, but if you've scrolled around to see if there's any reason to not read, here it is:
tl;dr - I made pork floss, here's a video.
And that'll about do it today!
Go Enjoy Something!
FC
No comments:
Post a Comment
Comments are now moderated, so if your comment doesn't appear right off, it's just bc I haven't seen the email yet sorry!